Simplicity 8875 - Navy viscose
Posted on
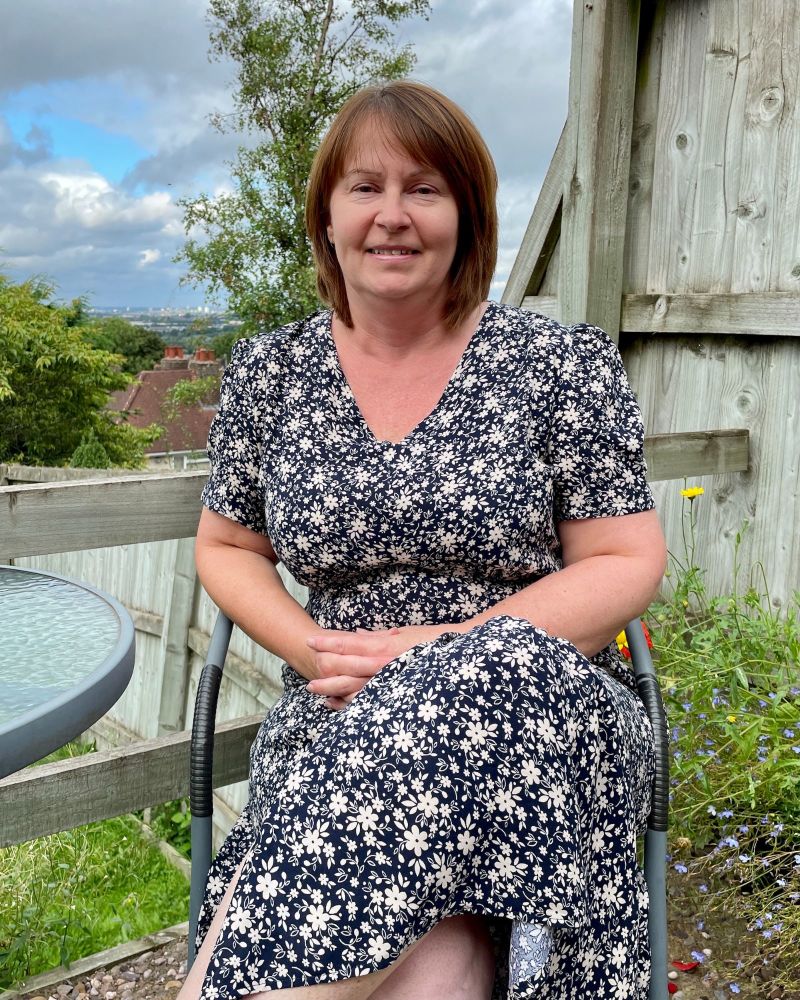
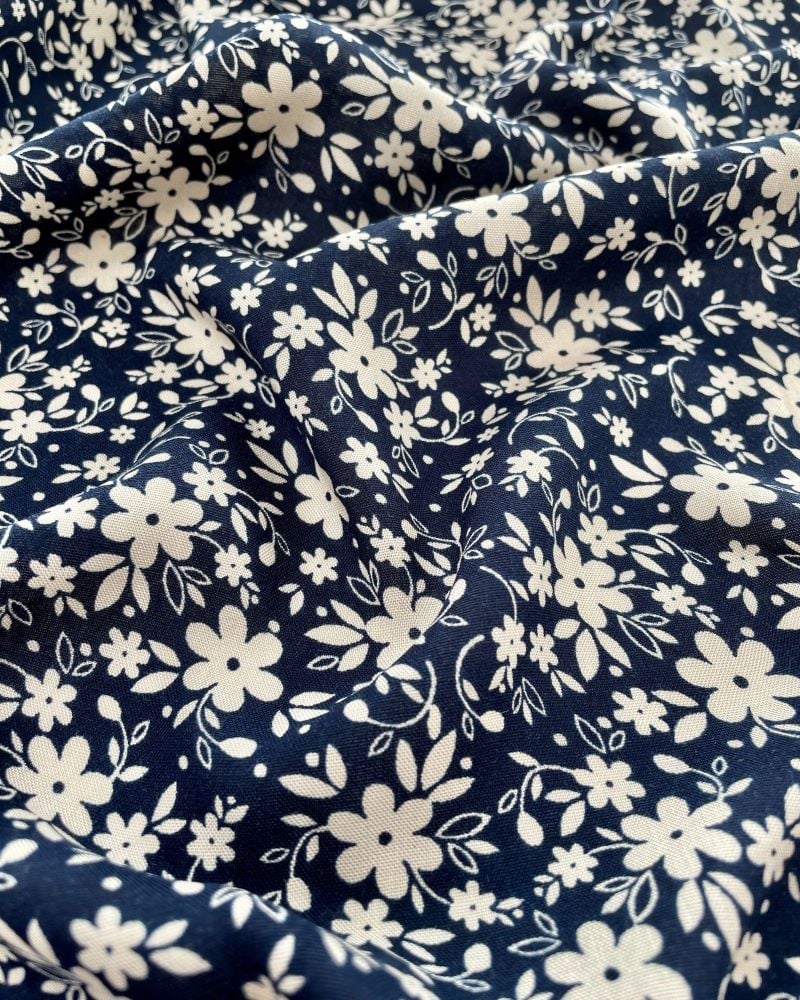
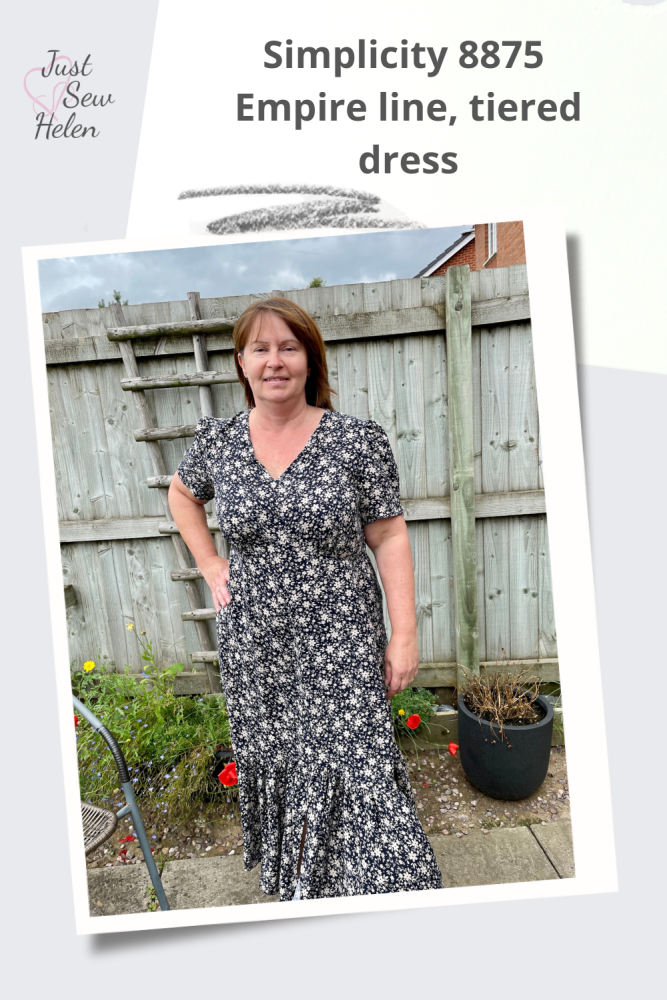
I received some beautiful viscose challis fabric from Minerva in navy with sand-coloured flowers. As usual with viscose fabric it has a lovely drape & movement without being too thin and is perfect for the summer. It is non stretch & smooth to the touch with a matte finish. I like fabrics with small flowers that don’t have an obvious pattern direction and, for me personally, feel they can be worn more casually with pumps and a denim jacket but also dressed up should the occasion arise.
I’ve loved seeing all the trending summer ‘buffet’ dresses, but I don’t like myself in them, feeling shapeless & two sizes bigger than I am!
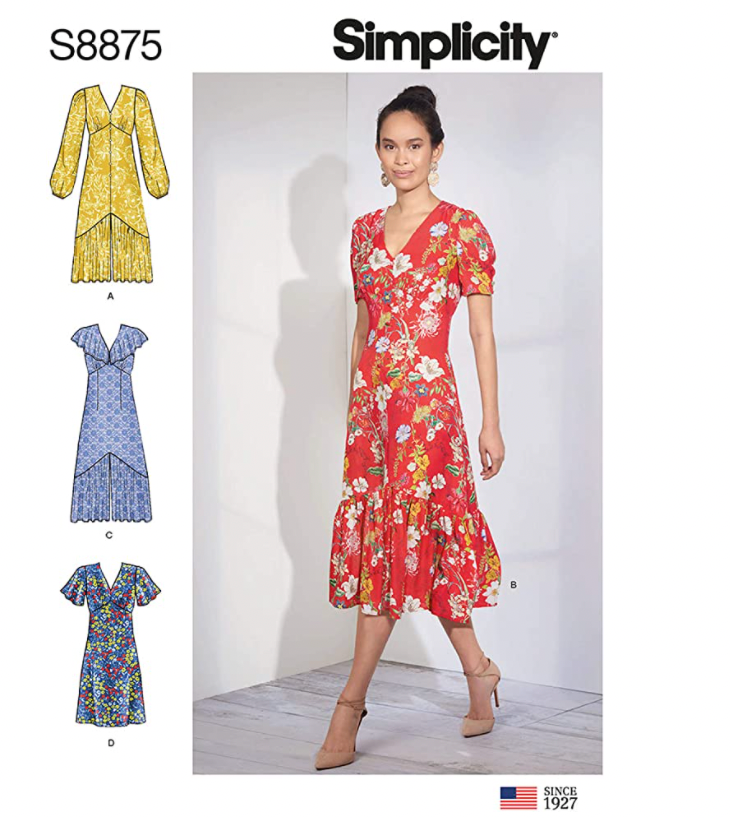
I decided on Simplicity 8875 which has an empire line and lower ruffle with a choice of sleeves. The pattern comes in sizes 14 to 22. I chose version B with short sleeves & made several alterations including a full bust adjustment (FBA), grading out over the hips & tummy whilst ensuring the empire line sits in the right place. Viscose can also fray at the seams if there isn’t enough ease for sitting.
Two toiles later I’d finally got a useable pattern 👏
I recommend always prewashing viscose as it is prone to shrinkage.
I cut size 16 bodice using upper bust measurement of 38” and added a FBA of 1 inch. I graded out through the waist & over the hips to size 22/46” lower hips and, as this was a significant size difference between the bodice and the skirt, I cut them both bigger then pinned to fit before sewing. One of my usual alterations is to take in 1 inch at the top of the back neck. I transferred new seam lines to the pattern pieces & recut all the pattern pieces with the alterations.
After my first toile I added a further 2 cm to the front bodice length and graded from the sides along the back by 1 inch so that the side lengths were equal. There was a bit too much fabric along my ribs/under bust so I pinched two darts along the empire line to take in excess fabric and fit the bodice in the correct position, transferring to the pattern piece before cutting the fabric. Finally, I narrowed the gathered bust section as it gave me too much volume to the side. From underwear making I have learnt that I have more central volume rather than at the sides.
TomKat Stitchery has a great tutorial on YouTube showing how to do a FBA on an empire line dress, using S8875 as an example.
This was definitely one of those projects where sewing in my underwear was essential due to the number of times I had to try on the toiles!
I changed the order of construction from that described in the instructions as I wanted to sew the side seams last to allow for fitting. The pattern calls for making each half of the dress with each top and bottom sewn together at the side seams, then the back and finally the front seam.
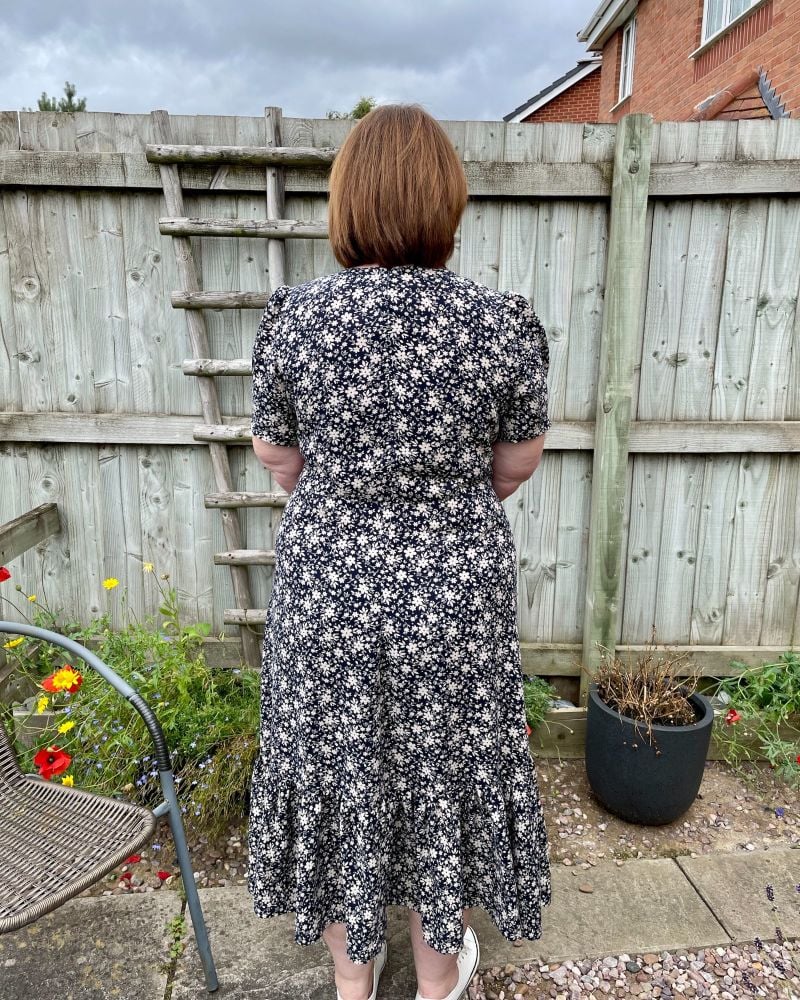
It surprised me how long the ruffle was & I hemmed it first before doing the gathering. I gathered & stitched in sections instead of pulling one long gathering stitch. To do this I lifted a couple of the gathering stitches at each seam & pulled from there, machine basting before moving onto the next section & finishing with a further stitch line around the full length of the ruffle.
I like to finish the edge of the neck facing with a seam, stitching the fabric and interfacing right sides together, turning and ironing the iron-on interfacing to adhere to the wrong side as usual. This gives a neat edge rather than overlocked or zig zag stitched.
I had to take care when stitching the ruffle to the bottom of the skirt as I caught the skirt fabric in the stitches at the back. I sewed with the gathers uppermost and the flat piece of fabric had folded slightly and ended up in the stitches. I couldn’t feel when the lower fabric had caught because the fabric is fairly lightweight & with a lot of gathers to sew through. Fortunately, I check the underside frequently, so it was only a small section that needed to be unpicked.
Even with the toiles and fitting, and because the main fabric was more lightweight than the cotton duvet toile, I found the neckline to be slightly too loose and there was a small gape on each side of the V neck. The toile lay nice and flat, but this fabric has more drape, and, even with interfacing attached to the facing, it was a little loose. In future, I’ll take out a small wedge on the pattern before cutting but on this occasion, I took in a further 1cm on each shoulder seam, tapering to the sleeve head.
I love the dress, girly and floaty without being the classic, tiered ‘buffet’ style which makes me feel like I’m wearing a tent. Why is it everyone else looks so lovely in their tiered dresses?!

This dress took a lot of fitting to get it right and this is no fault of the pattern but more to do with my curves and it appears to be designed for less curvy shapes. I can get the dress on and off over my head without using the zipper so I might remove it and will leave it out of my next one. That said, I’m glad I persevered and love the finished dress.
The fabric is a great price at £5.99 per metre and with this dress requiring approximately 3 metres (depending on which version you choose) you can get yourself a dress that fits for under £20.
I’d like to make the dress again in jersey which will be a bit more forgiving, adjusting the pattern to allow for the stretch.
Thank you to Minerva for the gifted fabric - Viscose Challis fabric sand on navy.
---------------------------------------------------------------
* Post contains affiliate links*
---------------------------------------------------------------
---------------------------------------------------------------

Add a comment: