How to make an embroidered child's keepsake cushion
Posted on
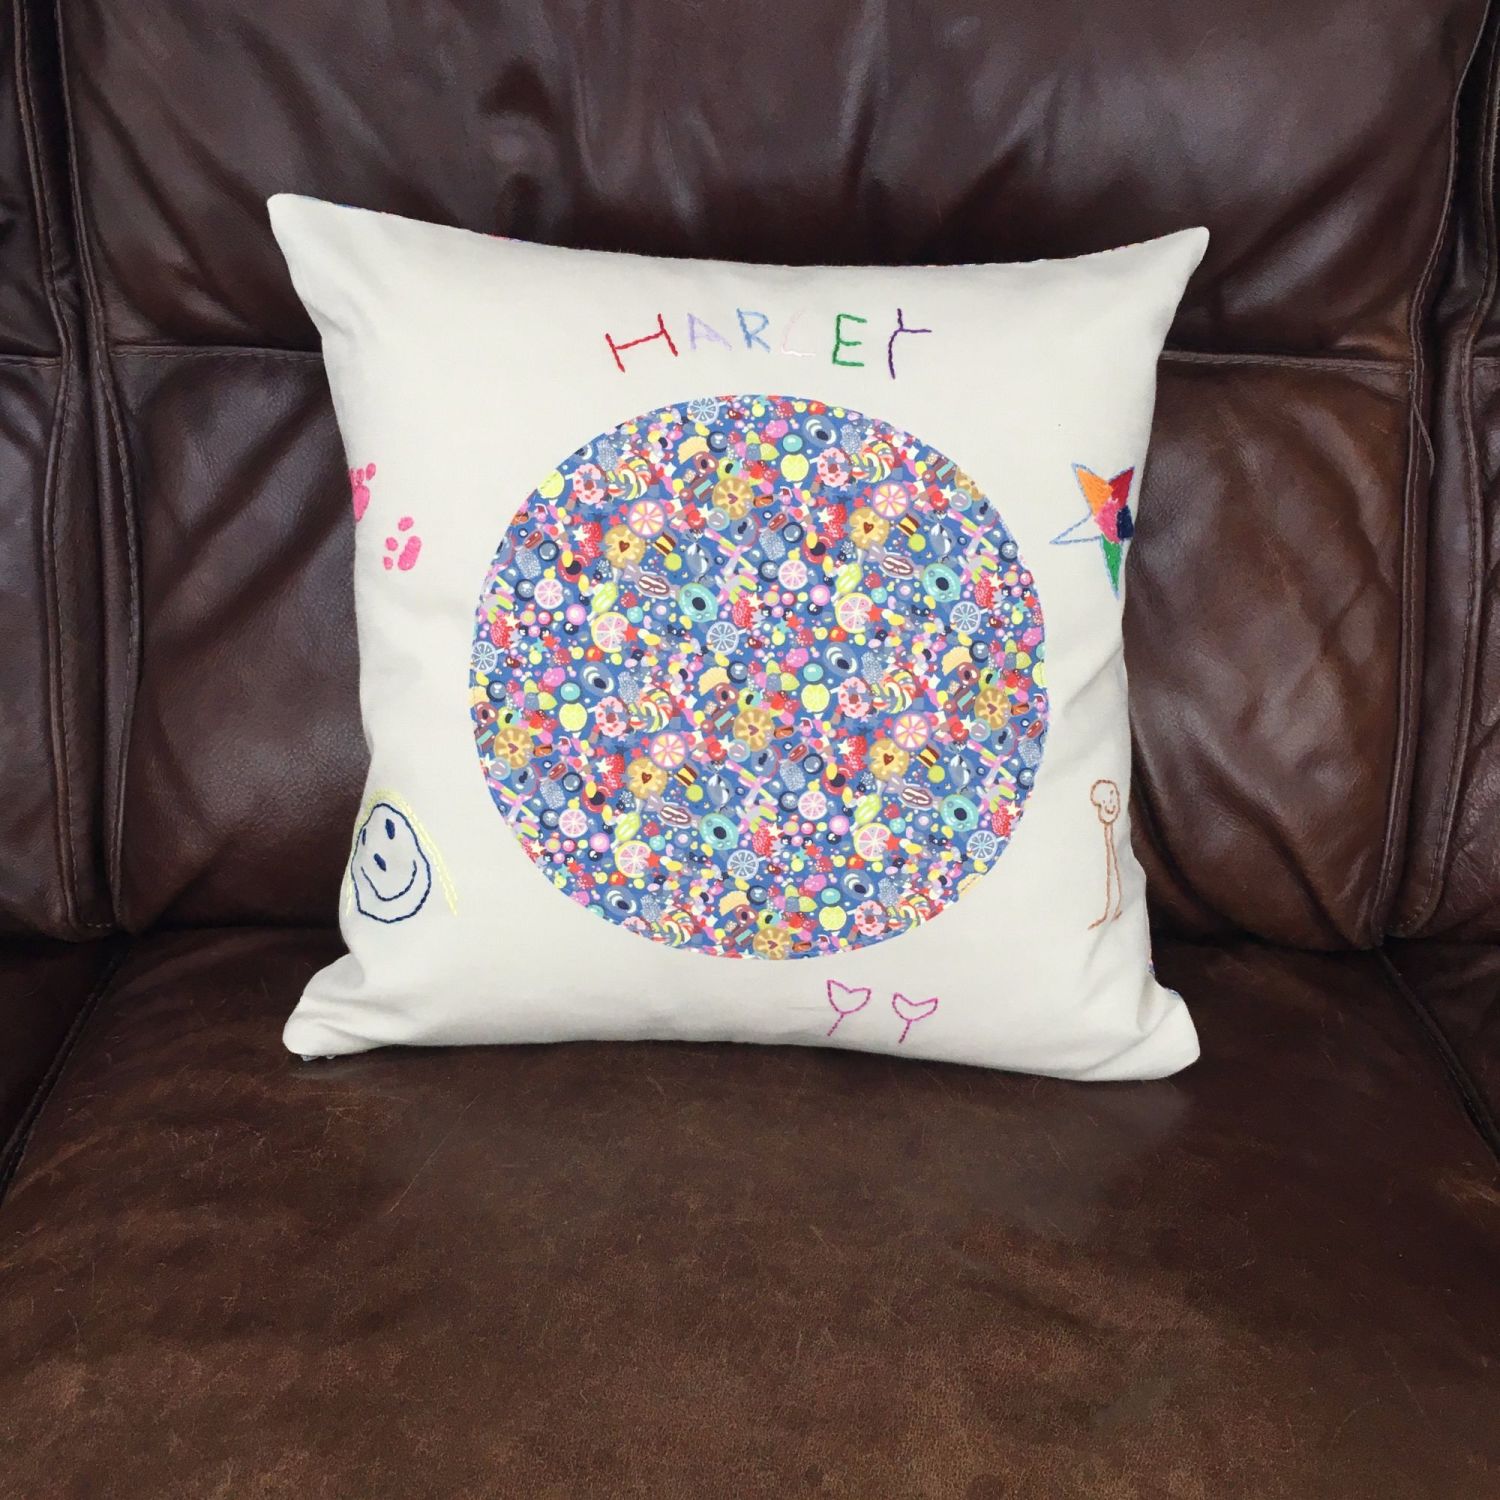
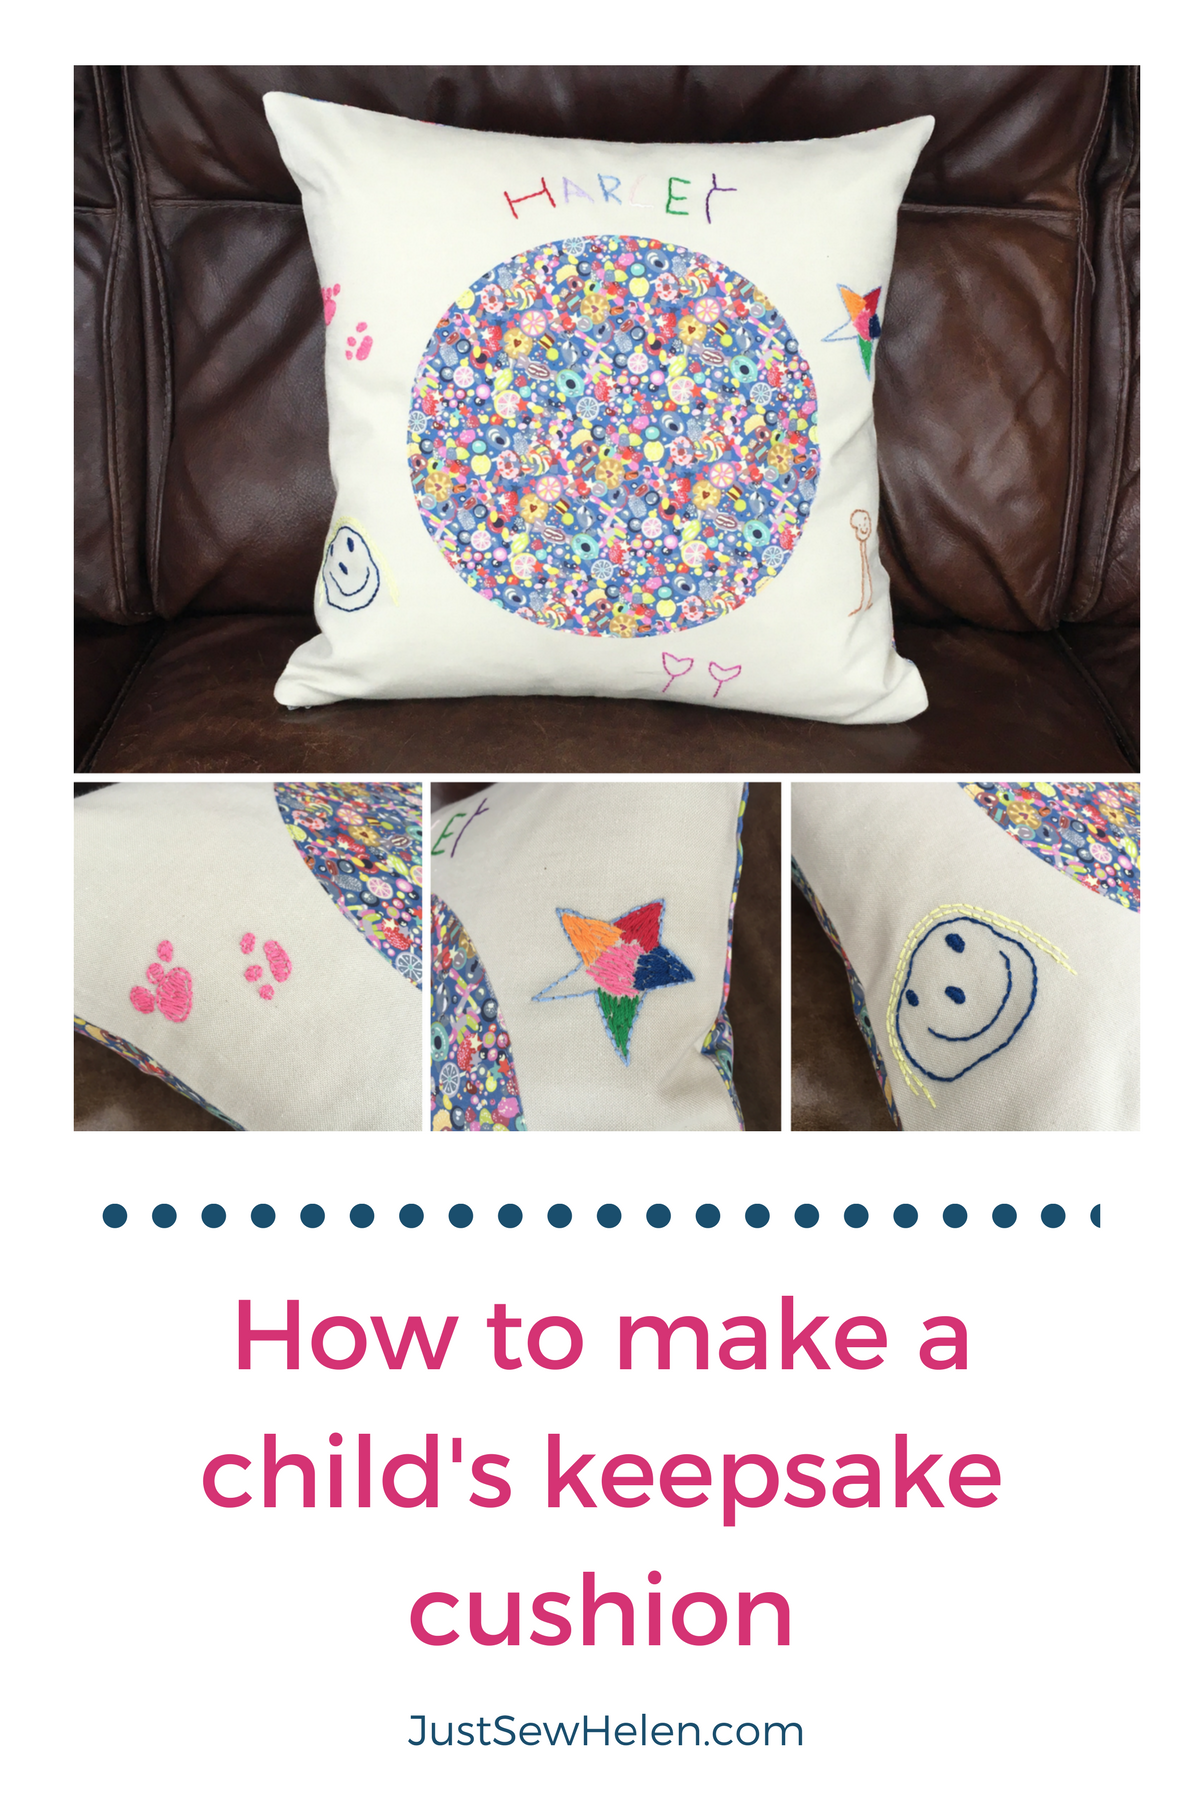 I recently received a lovely custom order from a lady who wanted a cushion cover for her daughter who was starting pre-school. The little girl needed a cushion for her afternoon rest periods and the lady wished for some of her drawings to be embroidered on the cushion, ideally in the centre of the pillow.
We communicated about the layout over a few days and she took my advice that central embroidery would not be ideal as this could leave patterns on her little girls face when lain on.
We agreed that the central area would be in fabric and the rear of the cushion would match this fabric. The embroidered drawings would be around the edge with the name at the top.
The fabric she had chosen was lovely and was a cotton lawn type fabric with a mixture of sweets, candy and biscuits on a blue background.
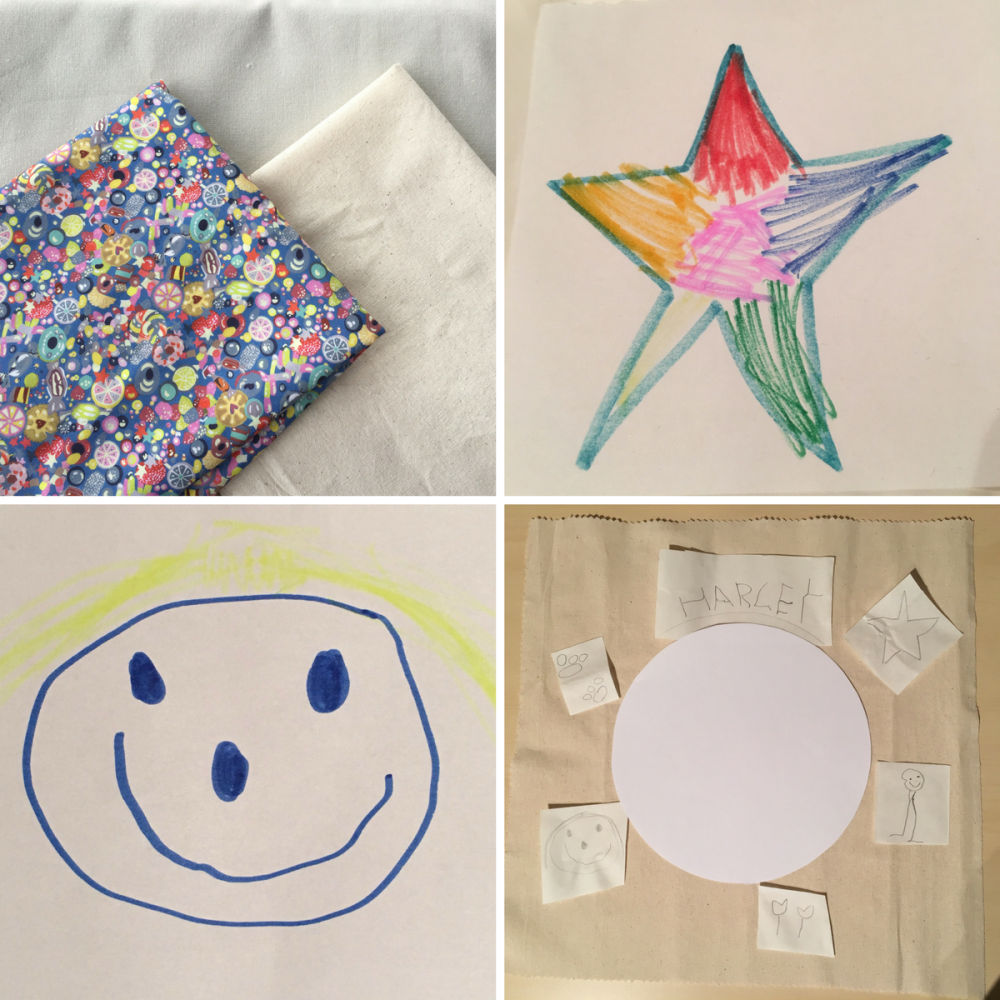
I cut out all of the fabric pieces and used an 8” plate as a template for the central circle. I like to use heat’n’bond for fabric appliqué and used it on this occasion also. I will consider spray adhesives for future cushions as heat’n’bond is relatively expensive but ideal for small details as the shapes can be traced onto the paper backing to retain the detail. It is not really cost effective for larger applique and is not required for a simple, larger shape.
For transferring the drawings for embroidering, I traced onto some dressmaking tracing paper, pencilled over the reverse of the image and then transferred the original tracing onto the fabric by re-drawing over the right side of the image. On occasions, I trace directly onto the fabric but it largely depends on the thickness of the backing fabric. A couple of drawings needed resizing to fit in with the layout and for this I took a photo on my phone, resized it & then traced as described above.
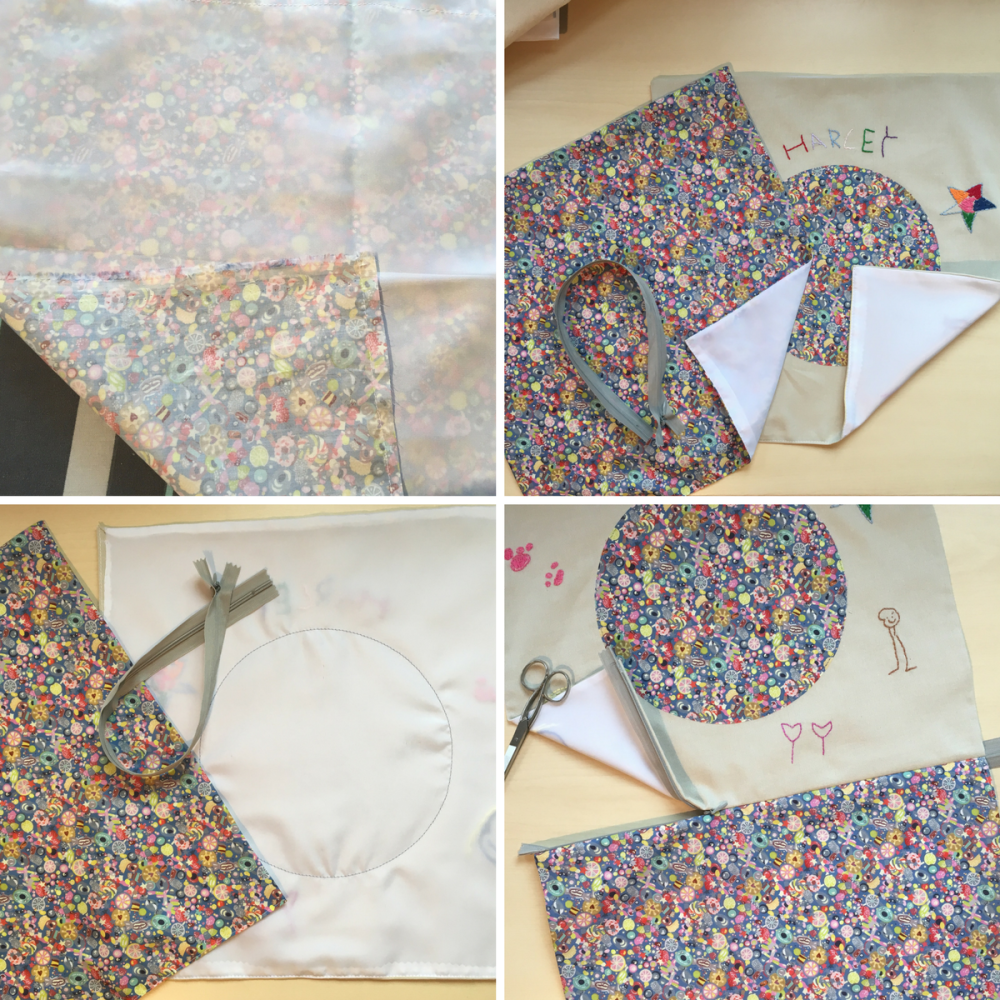
Once the embroidery and applique were complete I prepared to insert the invisible zipper. At this point I felt that the fabric for the rear of the cushion may be a bit thin for heavier use which may happen in school and so decided to line the cushion cover. Not having done this before I lined each cushion piece by sewing lining fabric right sides together with the main fabric around 3 sides, turning and then using the 4th seam along the zip insertion after folding & pressing a matching seam. This worked well on this occasion but feel that it would not be appropriate with thick fabric as there would be too much thickness along the seams and turning would not make a good point at the corners.
We agreed a timescale due to my other orders that were in progress and a date that I would need to have the cushion complete and packaged to have it with her for the weekend before the first day at school. After agreeing a price and the customer paying via a custom order on Etsy, she said she’d send a package with her chosen fabric and the drawings. She had already given me the measurements of the cushion and so I had included the return postage (£1.98) in the pricing. However, I was unaware that the customer was posting the cushion pad with the other items and this would then cost £7.25 to return it via 1st class recorded that we had agreed. It was my mistake for not clarifying with the customer or maybe I misinterpreted her plan, either way I was going to be out of pocket for the overall custom order.
This was a learning point regarding postage costs and custom orders but I really enjoyed making the cushion - it was bright and colourful and there’s something lovely about children’s drawings.
Add a comment: