The English Tea Dress - Simple Sew Patterns
Posted on
I’ve had some lovely floral viscose for some time and have never quite found the right pattern to use, and, while browsing the Simple Sew patterns, knew straight away The English Tea Dress was the perfect match.
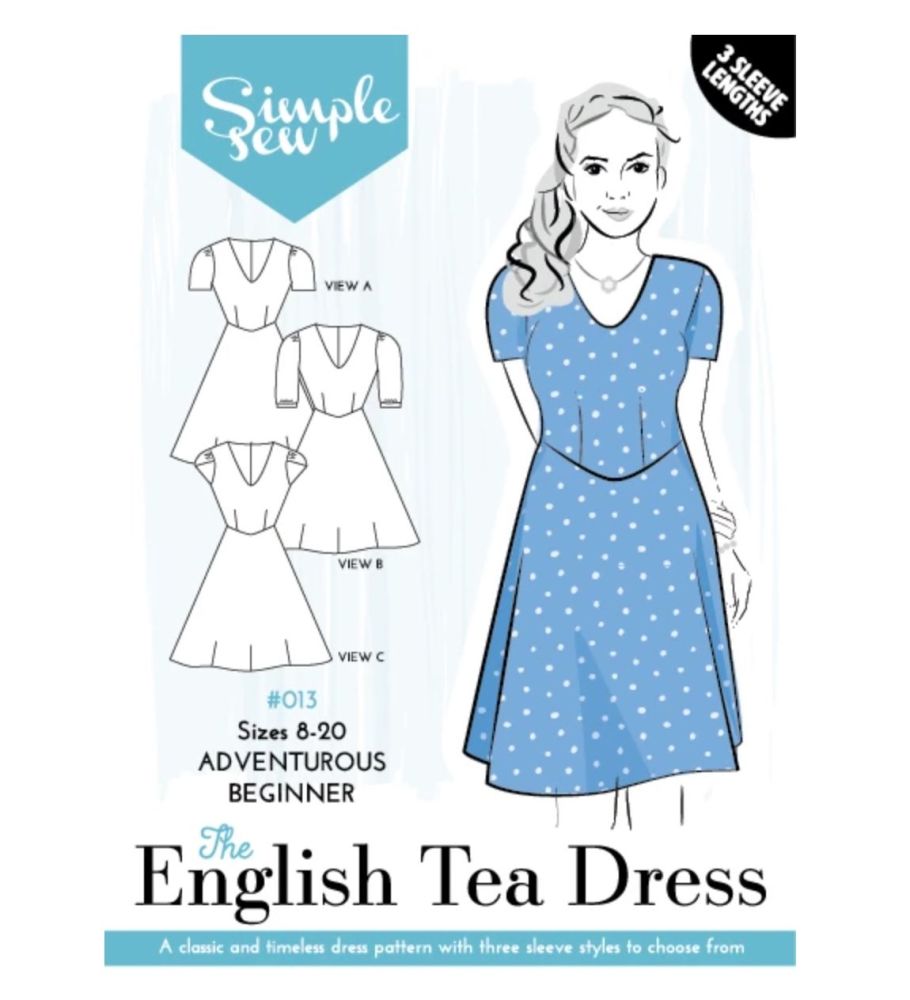
Something I have wanted to do for a long time is to self-draft a bodice, by draping on my Tailor’s dummy. I’ve had fit problems recently, mainly due to my changing shape, now I’m the wrong side of 50 & spent a day padding out & measuring my ‘model’. It’s a bit of a shock when you see a version of yourself looking back at you! The next step was to make a toile of the dress bodice out of an old cotton sheet and perfect the fit with a full bust adjustment (FBA) using the original pattern pieces, which I also compared against my made-to-measure bodice. I cut a size 14 bodice and graded to an 18 skirt, also taking in the back neck as per my usual adjustments. Without sleeves, I was able to cut the dress from 1.5 metres of 150cm wide fabric.
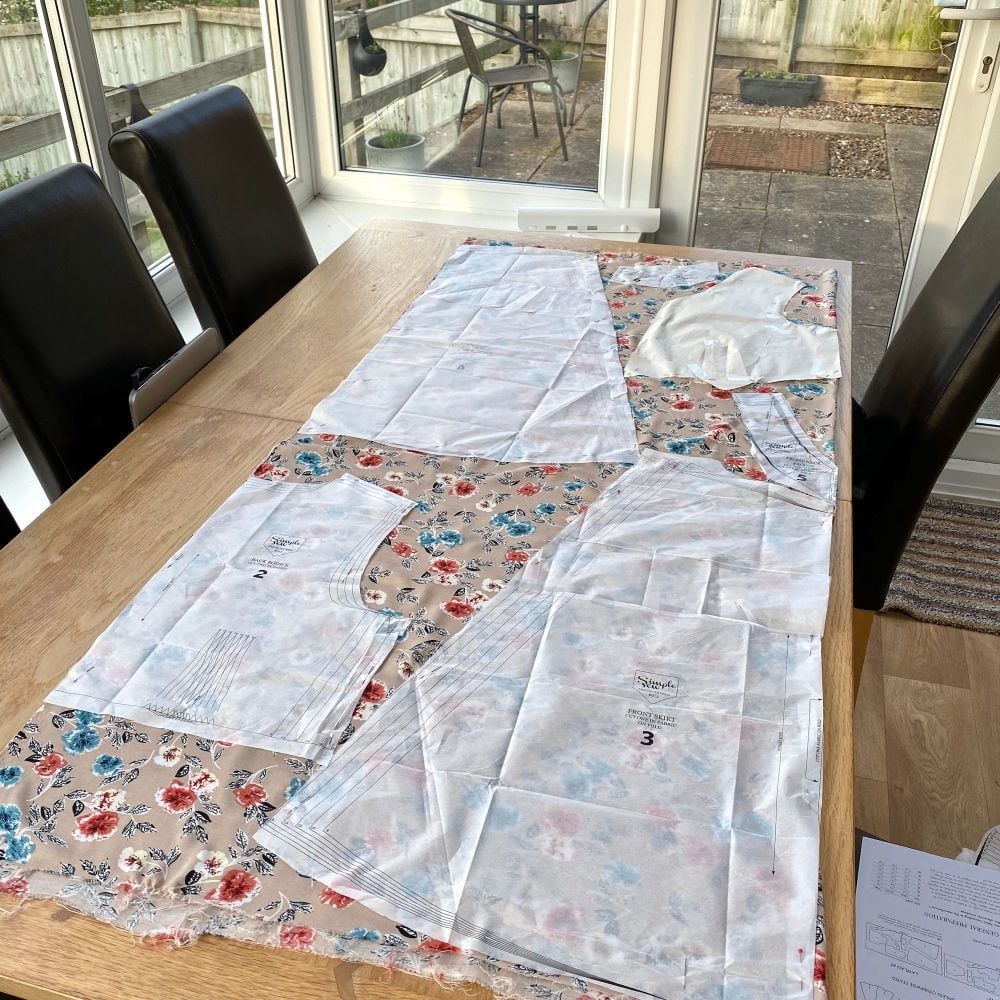
The fabric is a lovely soft viscose, Secrets Tan Viscose Lawn, from Weaverdee. Sadly, this is currently out of stock but they have many other beautiful fabrics to choose from. It is fairly lightweight so I opted to underline the bodice with cotton poplin as viscose can fray in areas under strain. I considered lining the dress but wanted more structure to the body, rather than for comfort or modesty, as it’s not sheer fabric. The process of underlining is very simple, and, in my opinion, easier than adding a lining. An online search can show you how to do this.
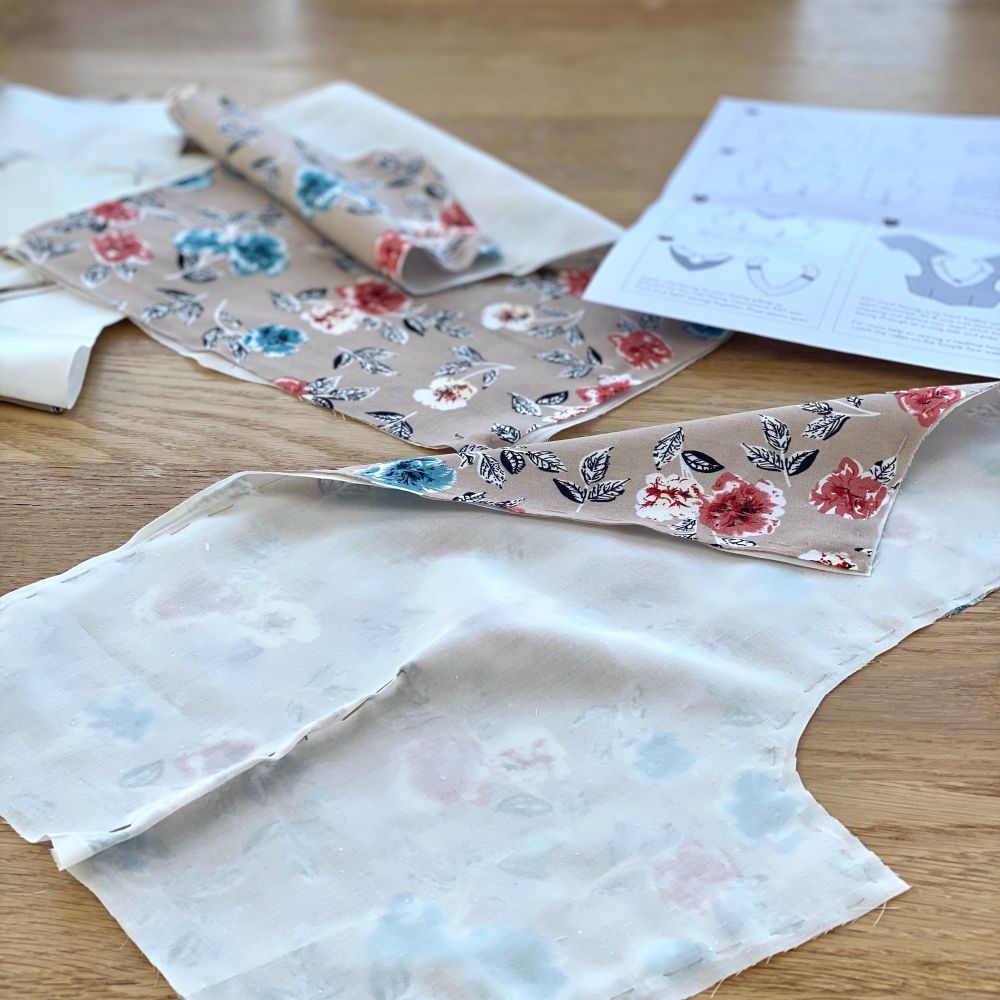
My facings often end up too long or short & as I’d adjusted the shoulders on my toile I double checked the length of the neck facing before sewing the seams. I edged the facing with a narrow hem & straight stitch. I usually use zigzag stitch but this method is neater when working with a lighter fabric. The facing was then under stitched to help stop the edge from rolling to the outside.
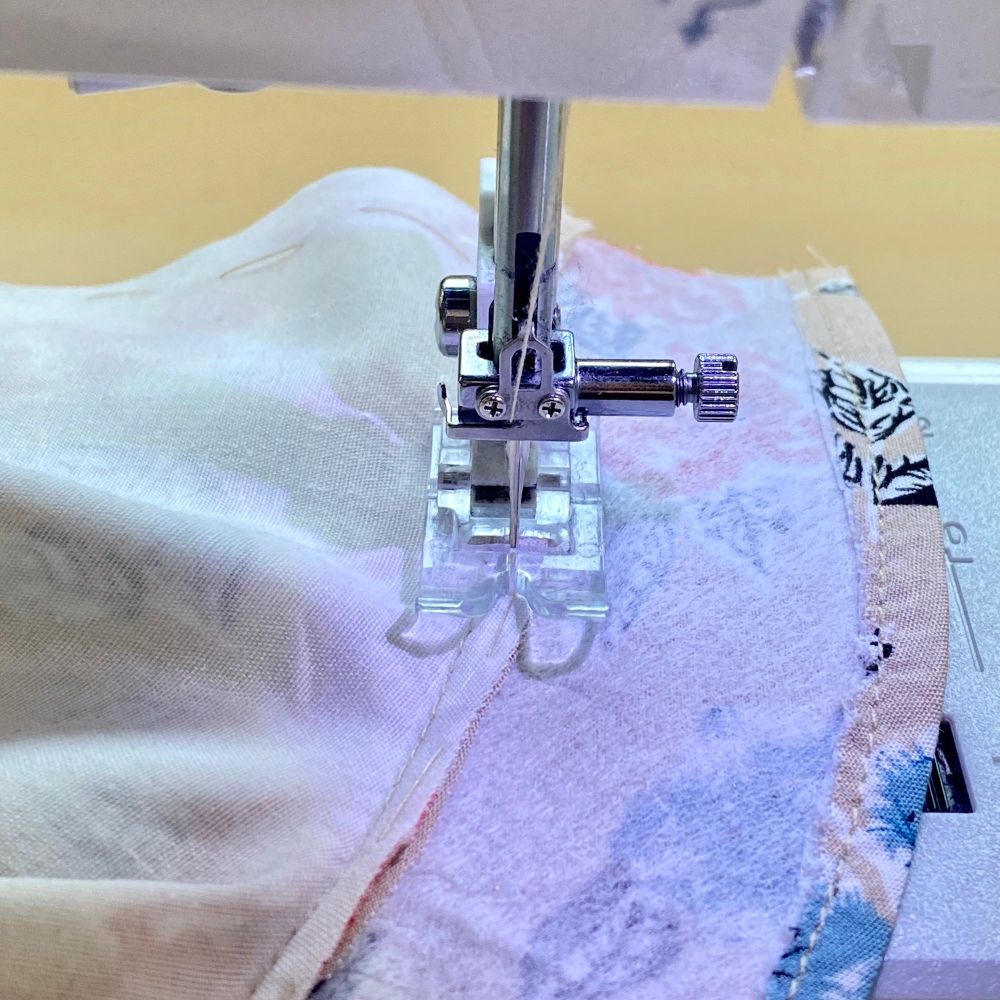
The pattern suggests sewing the side seams before inserting the zip and back seam however, I inserted the back zip before the side seams to allow me to better assess the fit. I find it easier to manage the side seams rather than making adjustments to the zip. To make sure the waist seams match at the zip I put a tiny mark on each side of the zipper tape at the level of the waist seam & match this with the seam on the other side of the bodice. I still have to think about my zipper when inserting an invisible zip & I usually pin both sides to double check I have it in the right way before actually sewing. Now that I have mastered my invisible zipper foot I love the finish of an invisible zip when it’s done well. It is also so satisfying when the top edge & the seams all match. I hadn’t got a 22” zip to hand, as recommended in the instructions, but had a 16” zip which works fine as long as I put the dress on over my head rather than stepping into it.
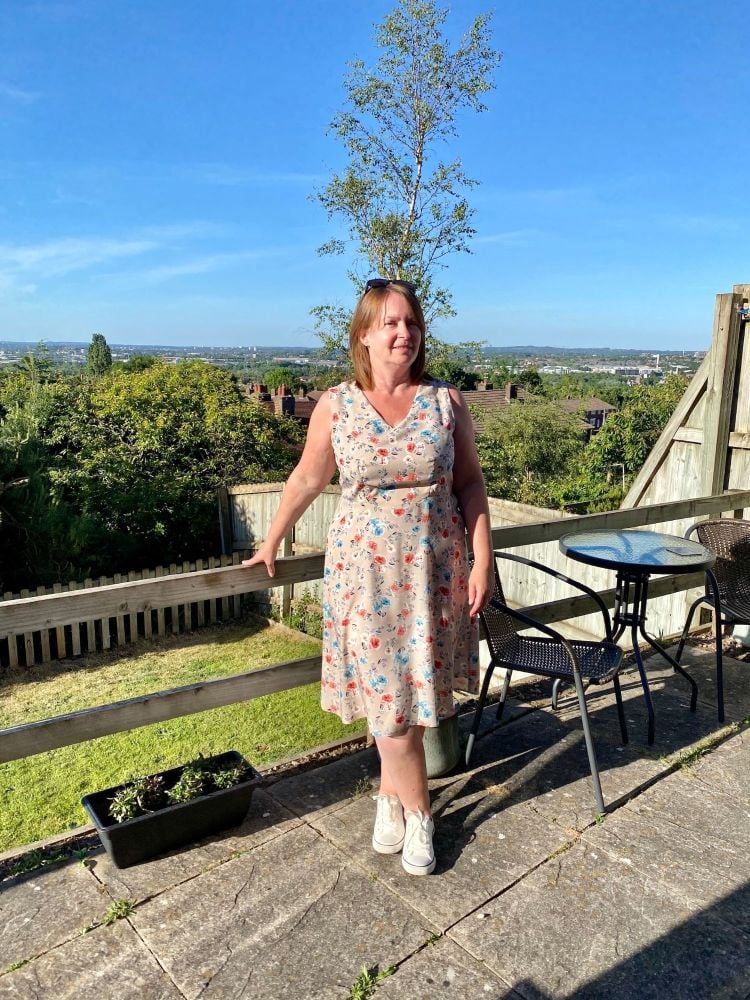
The biggest change I made to the pattern was to omit the sleeves, partly because I like sleeveless tops/dresses and also to avoid the chance of the arm syce seams fraying though wear at a later date. To finish the armholes, I wanted to avoid stitches showing on the right side of the dress and I used a 1cm bias binding which was hand stitched to the underlining making it invisible on the right side.
I’m trying to wear more dresses as they are so comfortable and I love making them, but I often don’t have any suitable footwear. I’m really pleased to have found some pumps that make the whole outfit more casual as I’m not generally one for wearing heals, and this dress can easily be dressed up or down.
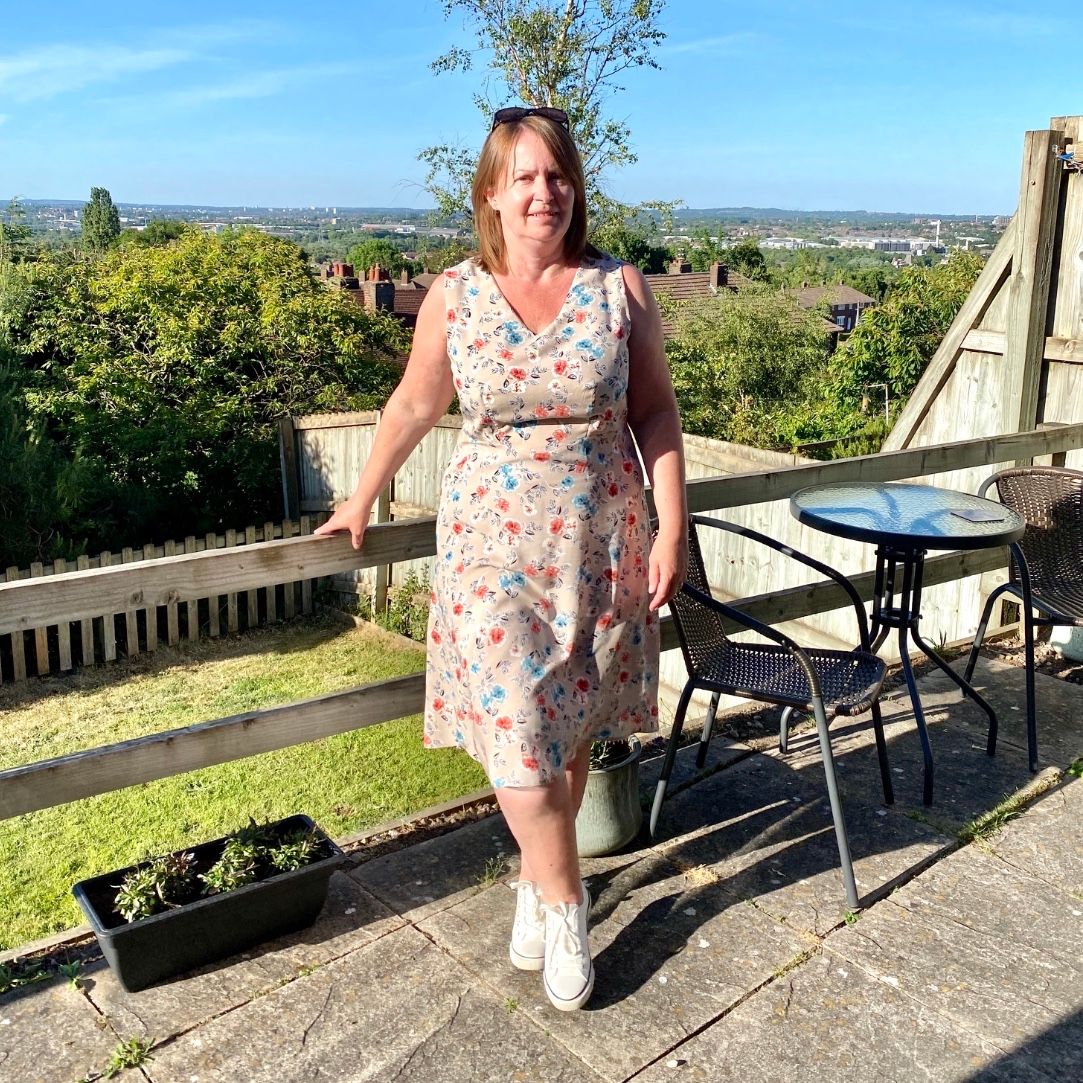
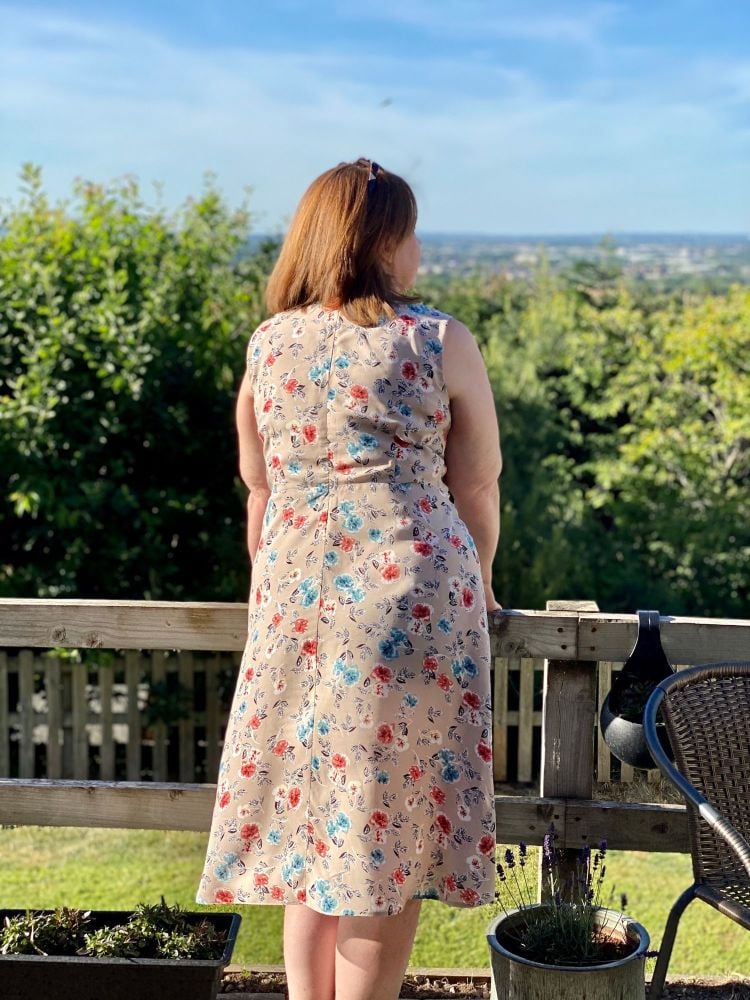

The dress is relatively quick & easy to make and now I’ve amended the pattern to my shape & size I should be able to run my next one up much more quickly & I even have some fabric ready to use.
Thank you for reading & I hope this has inspired you to get stitching.

Add a comment: